Once your service is provisioned you can access the controls via our Client Area
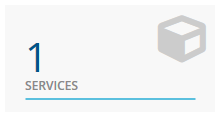
Assuming you have logged on click on the services tile. example below
You are now shown a list of all your services click the "Active" button
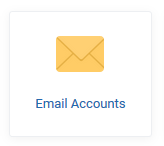
Scrolling down to the Email Section you will find the Email Accounts tile, click to open
Click the create account button
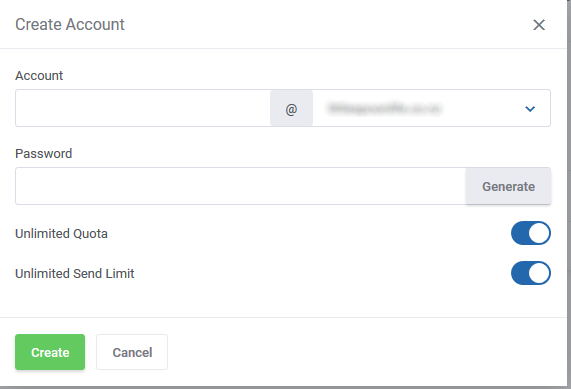
You are then displayed the email account creation dialog.

Populate the email address you would like in the Account field, followed by a password of your choosing in the Password field.
p.s use the Generate button to have us generate a password for you.
If you see an error regarding "Unable to create with unlimited send" toggle the feature off and enter "200" in the field.
Click Create and you are all done.
Where to from here? You will need to logon to Webmail using the credentials you just set, also you might want to setup an email client. You can find the details for many clients also in our knowledgebase here.


